Adding new Skippable ad is just a click-a-way thing Follow the quick steps below:
Step 1: To use the Skippable ad first you need to download and install our WP QUADS PRO plugin then go to WordPress Dashboard navigate to Dashboard ->WP QUADS
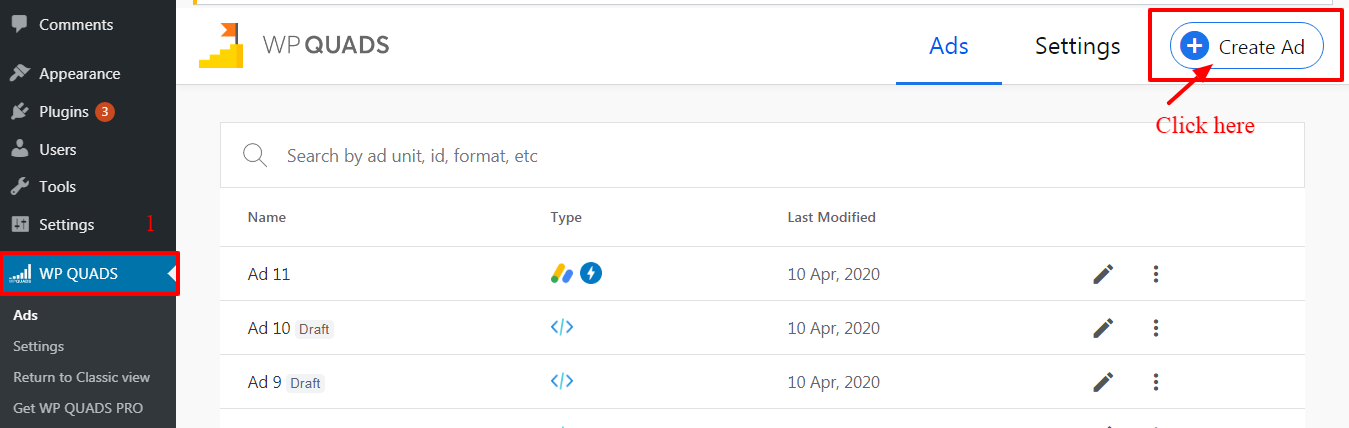
Step 2: Click on Create Ad to add an ad just like in the screenshot below.
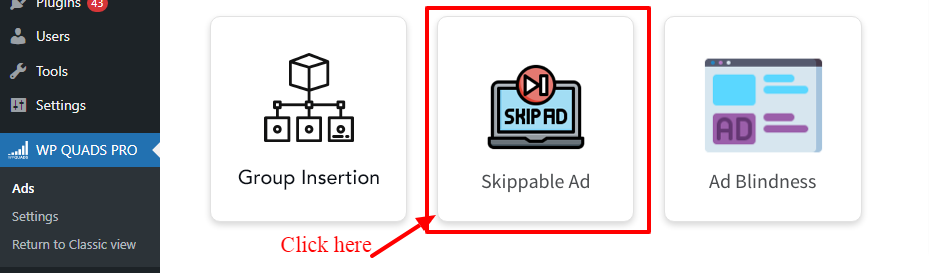
Step 3: Select the Skippable Ad which you can see in the below screenshot.
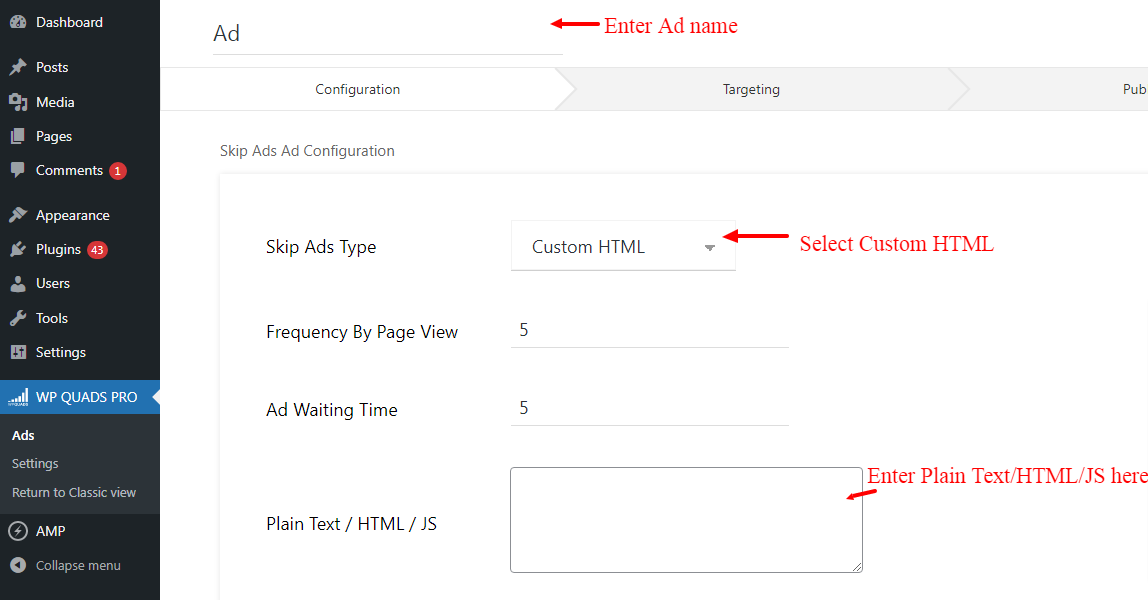
Step 4: Enter your Ad name and fill in the below information
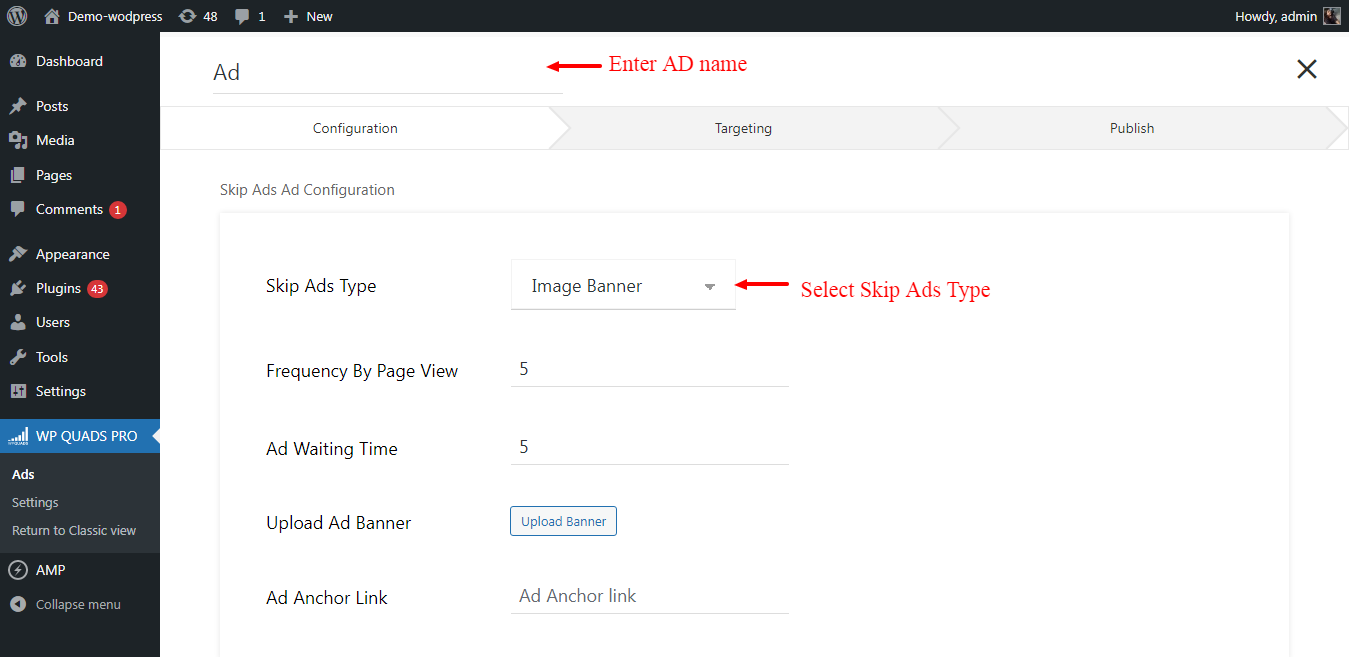
- Skip Ads Type: In this option, there are two types of skip ads type Image Banner and Custom HTML select as per your requirement.
- Frequency By Page View: In this option, you can set the frequency number of times a user sees ads in your Display.
- Ad Waiting Time: In this option, you can set Ad waiting time.
- Upload Ad Banner: By using this option you can upload Ad banner.
- Ad Anchor Link: In this option you can add Ad Anchor Link.
- Skip Ads Type: Once you select Custom HTML option you need to select all below the option and enter Plain Text/HTML/JS like below the screenshot.
Step 5: You can configure the label and the position of your Ad
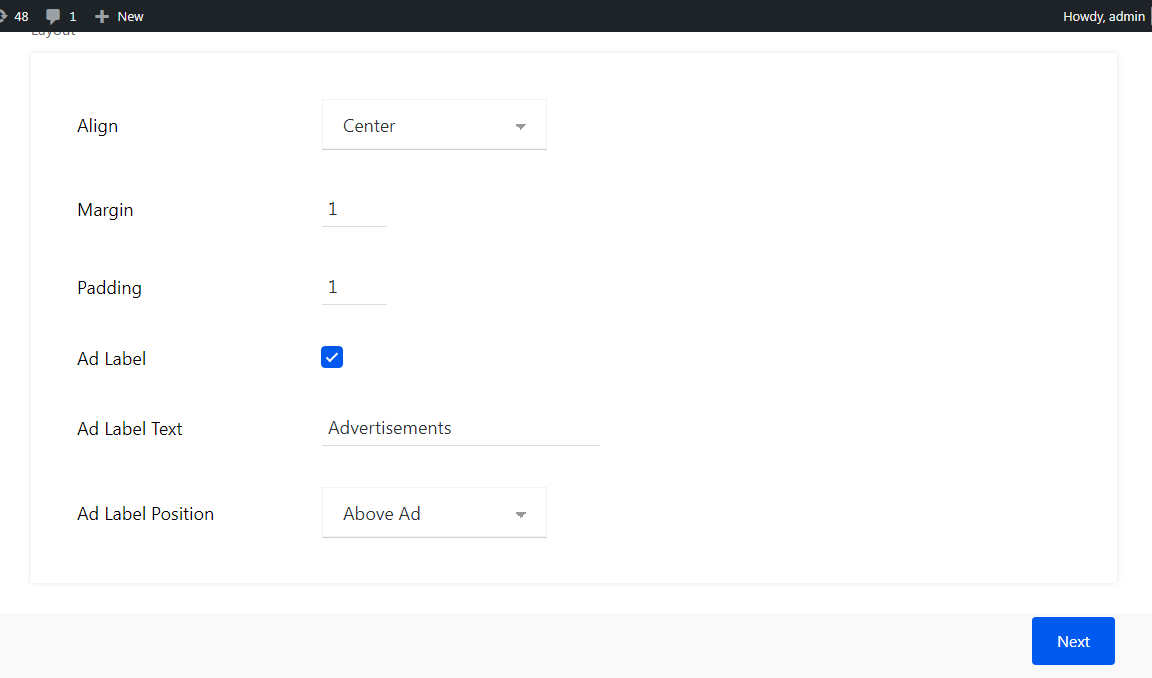
- Align: You can individually adjust the position of the ad label and align it to the left, center, or right side inside your layout. The default option uses the position you defined in the general settings
- Margin: You can also set the margins of the ads as per your taste.
- Padding: You can also set the padding of the ads as per your taste.
- Ad Label: You can also add the Ad Label of the ads for this you need to select this option after that you can add a label and the position of your Ad and then click on the “Next” button.
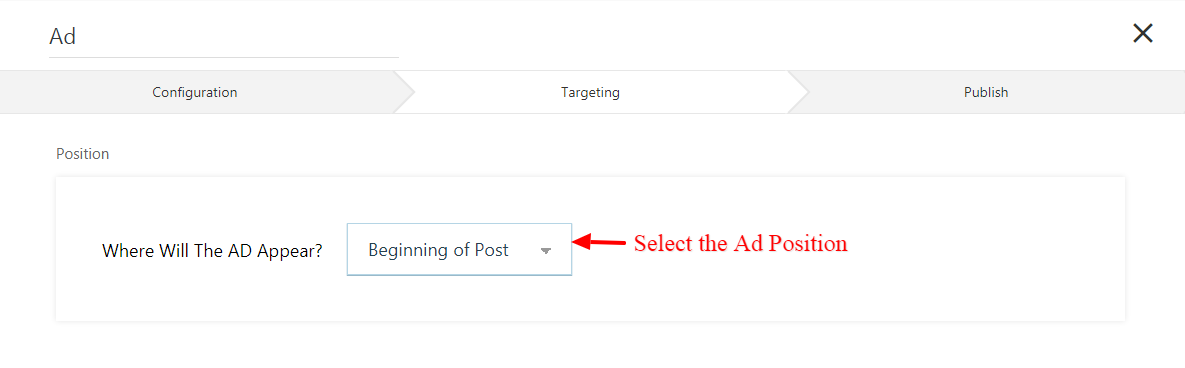
Step 6: Select where you want to display Ad position as per your requirement.
Step 7: You need to set the Placement of the Ads whether you want to show the Ads on specific Posts/Pages or all posts, etc.
For eg: If you want to show the Ads only for Posts then you need to set the placement like “Post type —> To —> Post”
Same you can follow this for pages as well “Post type —> To —> Page”
If you want to set the Ad only for Single Page/Post then you need to set like this “Post —> Equals to —> Post name” or “Page—> To —> Page name”
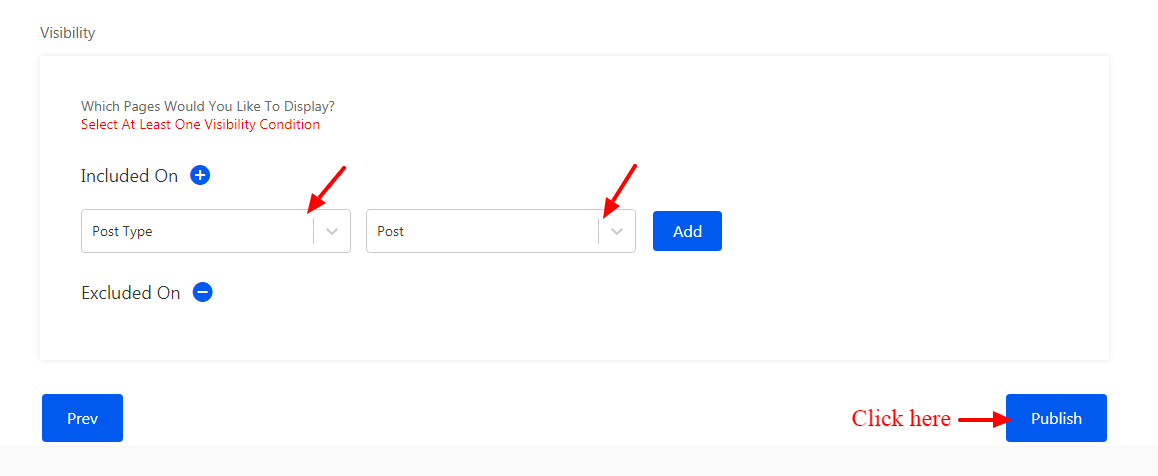
Step 8: Once you are finished with all the selection and entrees all is left to publish the ad by hitting the publish button then your ad is live on your site.
OUTPUT:
That’s it for this tutorial!
We hope it helped you. If you have any feedback or questions or do you want us to create compatibility for any other Ad company which isn’t listed in our plugin then you can request us we will surely implement it as soon as possible.
Just contact us here and we are always available for you.