In this tutorial, we will show you how to Floating ads in WP Quads for this follow these simple steps.
Step 1: Once you install our WP QUADS PRO plugin then go to WordPress Dashboard and navigate to Dashboard ->WP QUADS PRO
Step 2: After navigating to the WP Quads PRO section, you will find the option “ADS” under WP Quads, here you can Create a new AD by clicking the button “Create AD”

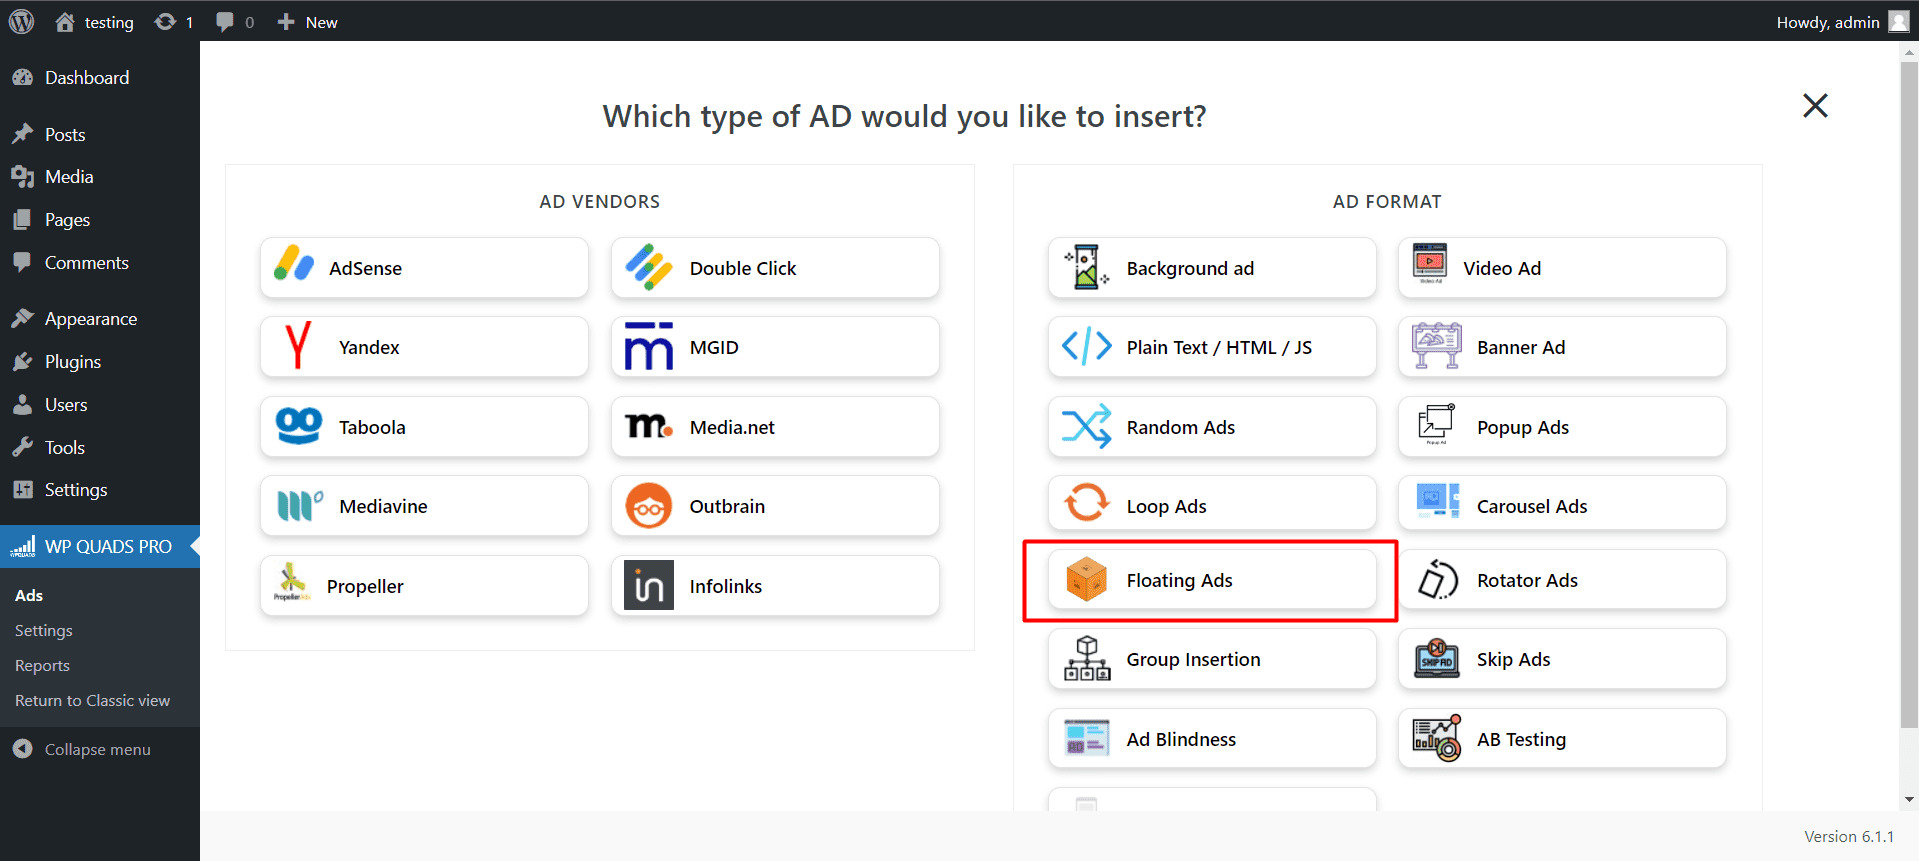
Step 3: After clicking on Create Ad you will get an option to choose the Ad type Floating AD.
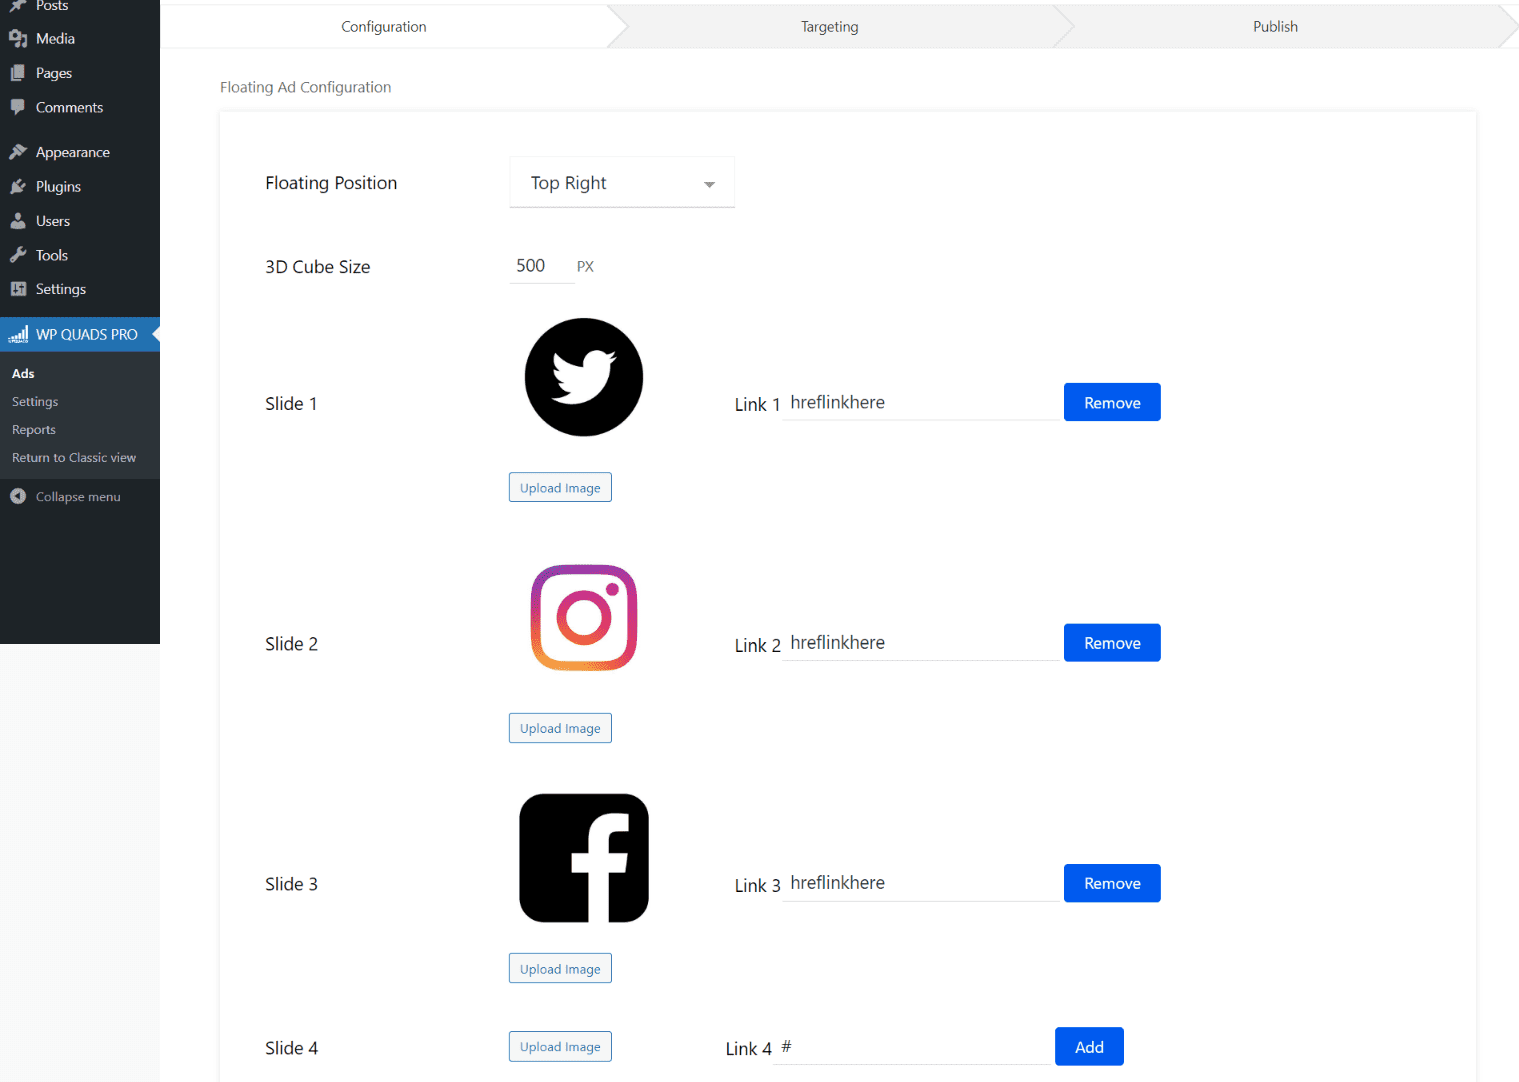
Step 4: After selecting the Floating AD you will get the options to configure the placement of the AD, the Size of the 3D Cube, the Images you want to upload, and an option to add a href links to redirect the visitor.
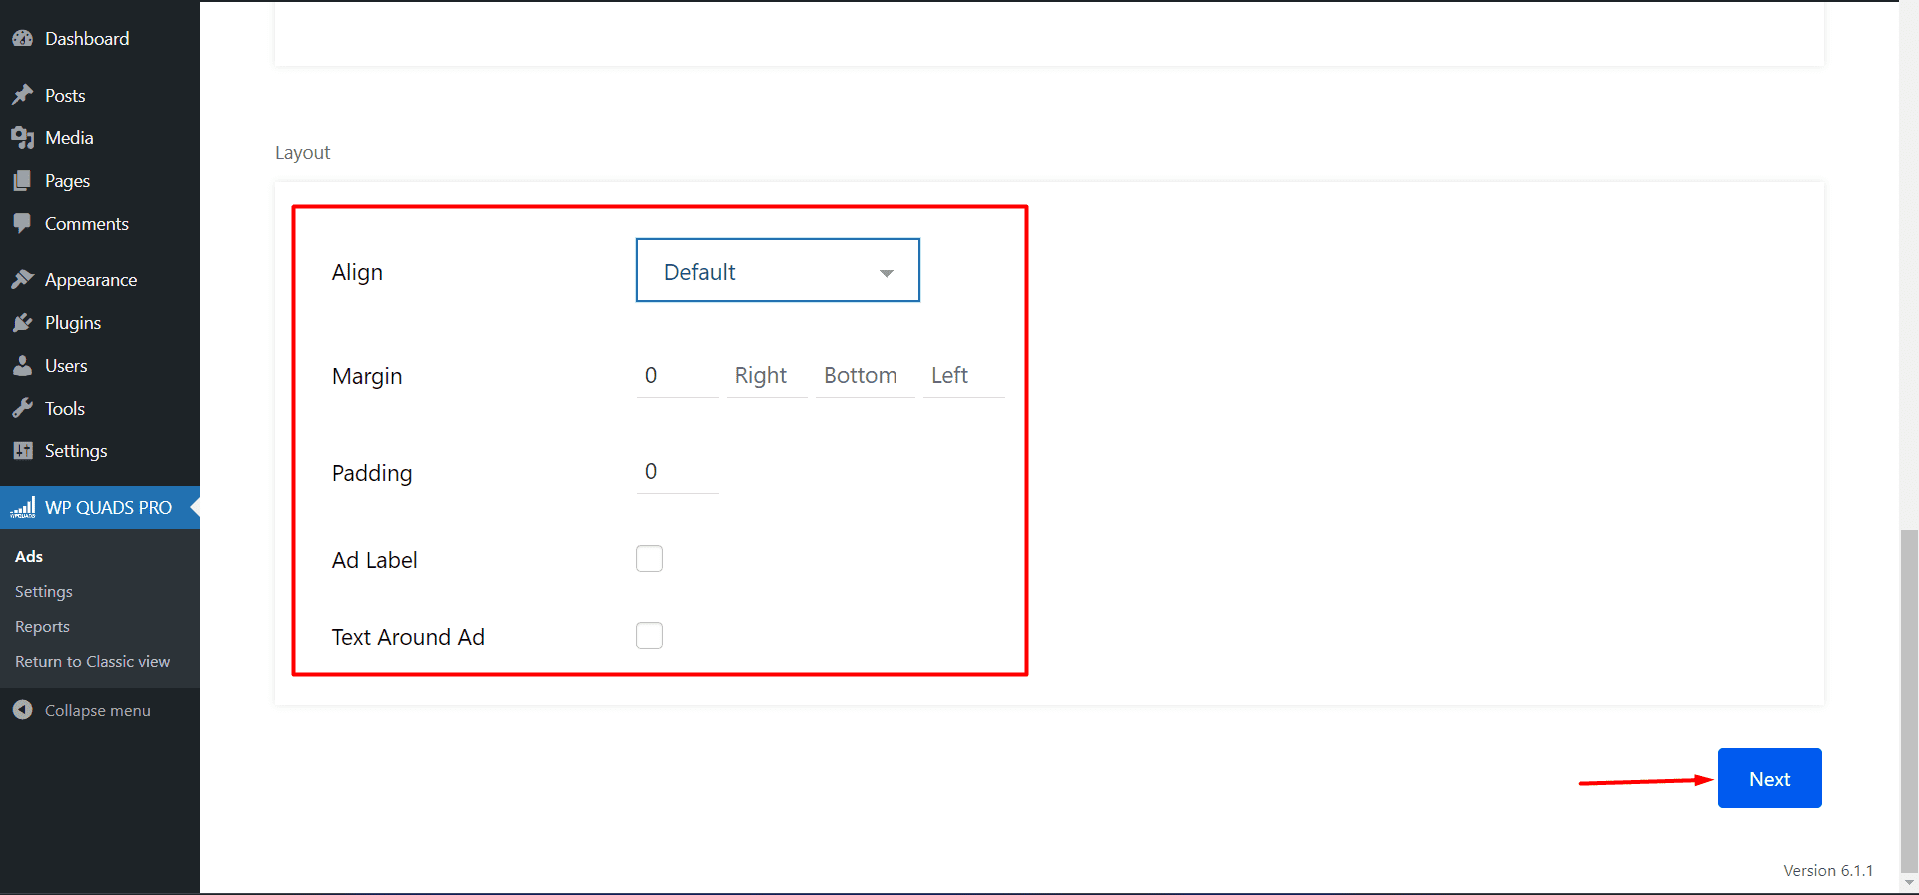
Step 5: once you have configured the AD Appearance, under that you can configure the Layout of your AD i.e Alignment, Margin, Padding, Ad Label, and Text Around the Ad accordingly and click on the Next
Step 6: After clicking on the Next button you will go to the next page where you can configure the Visibility of the Ads.
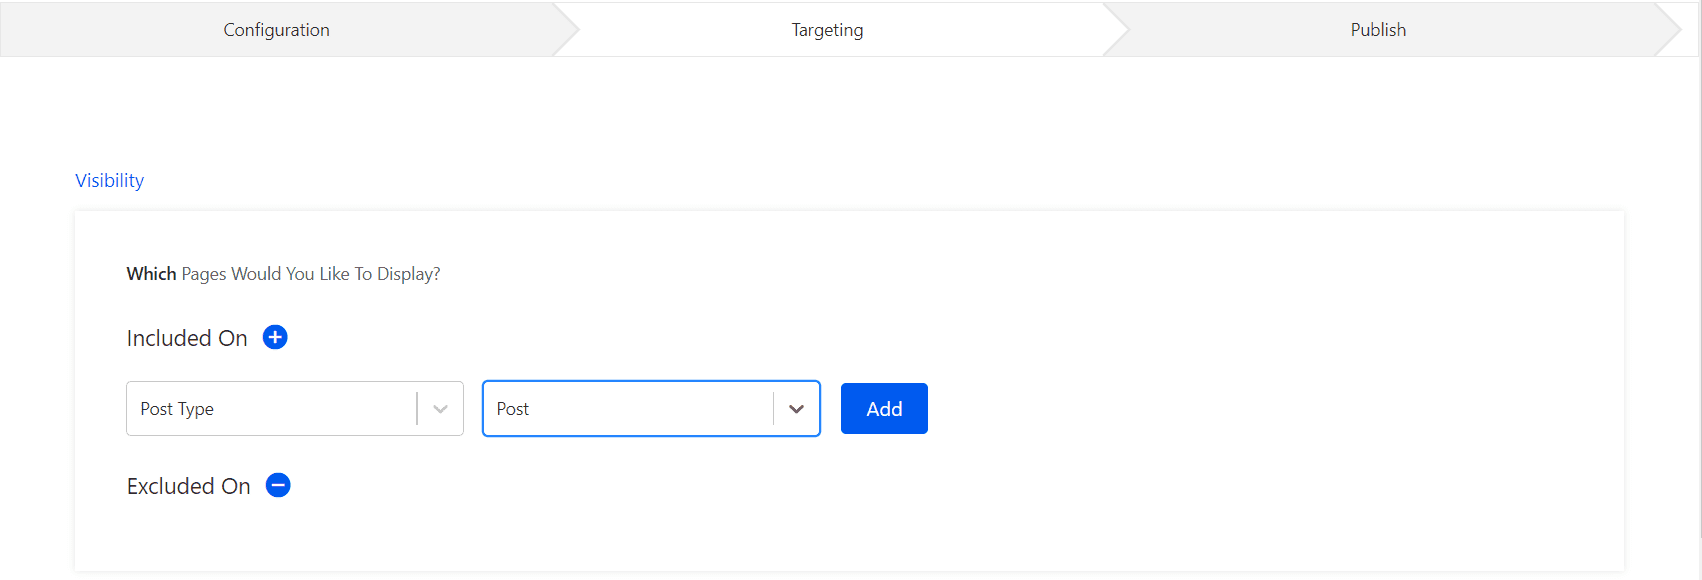
For example:
Include on “Post type -> to-> Post”
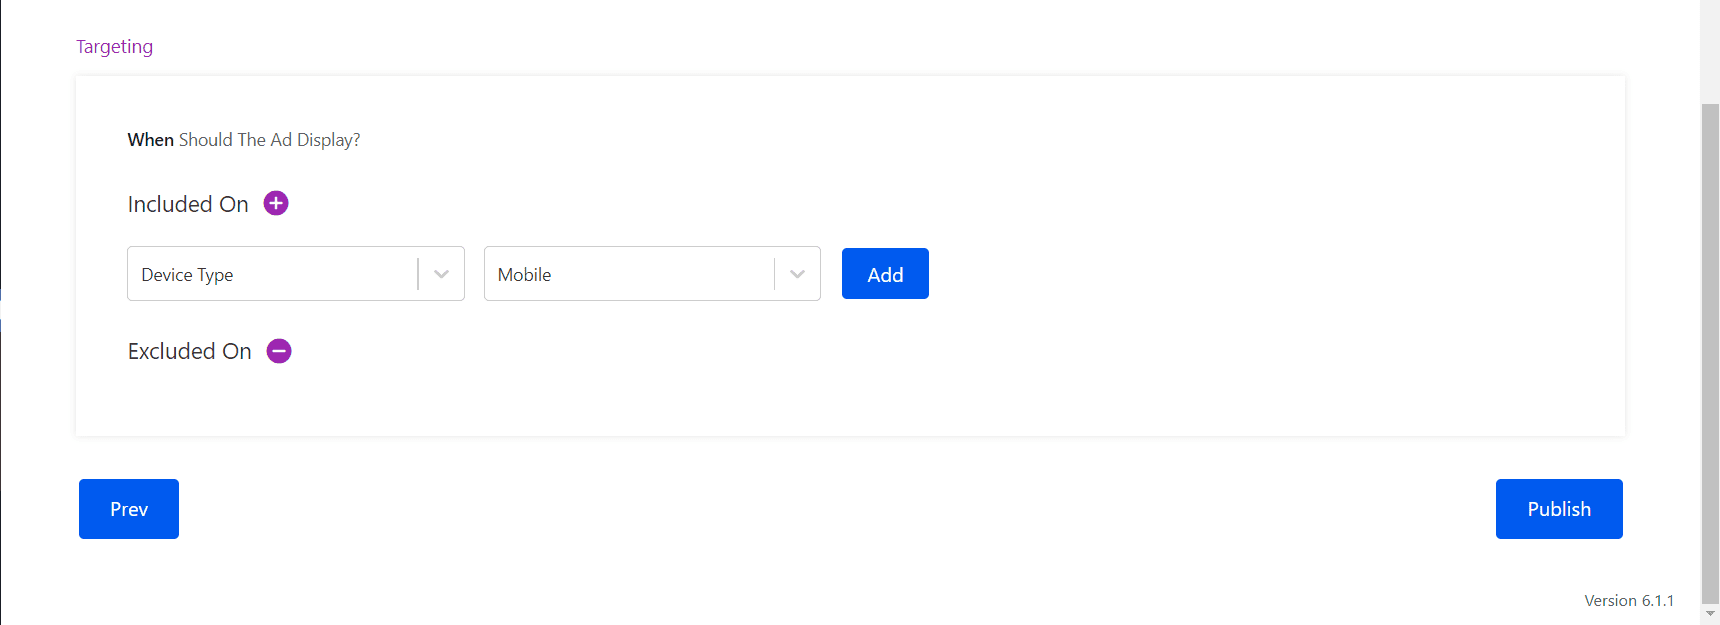
Step 7: Now, once you have configured the Visibility of your AD, you can configure the Targeting of your AD i.e Device Type.
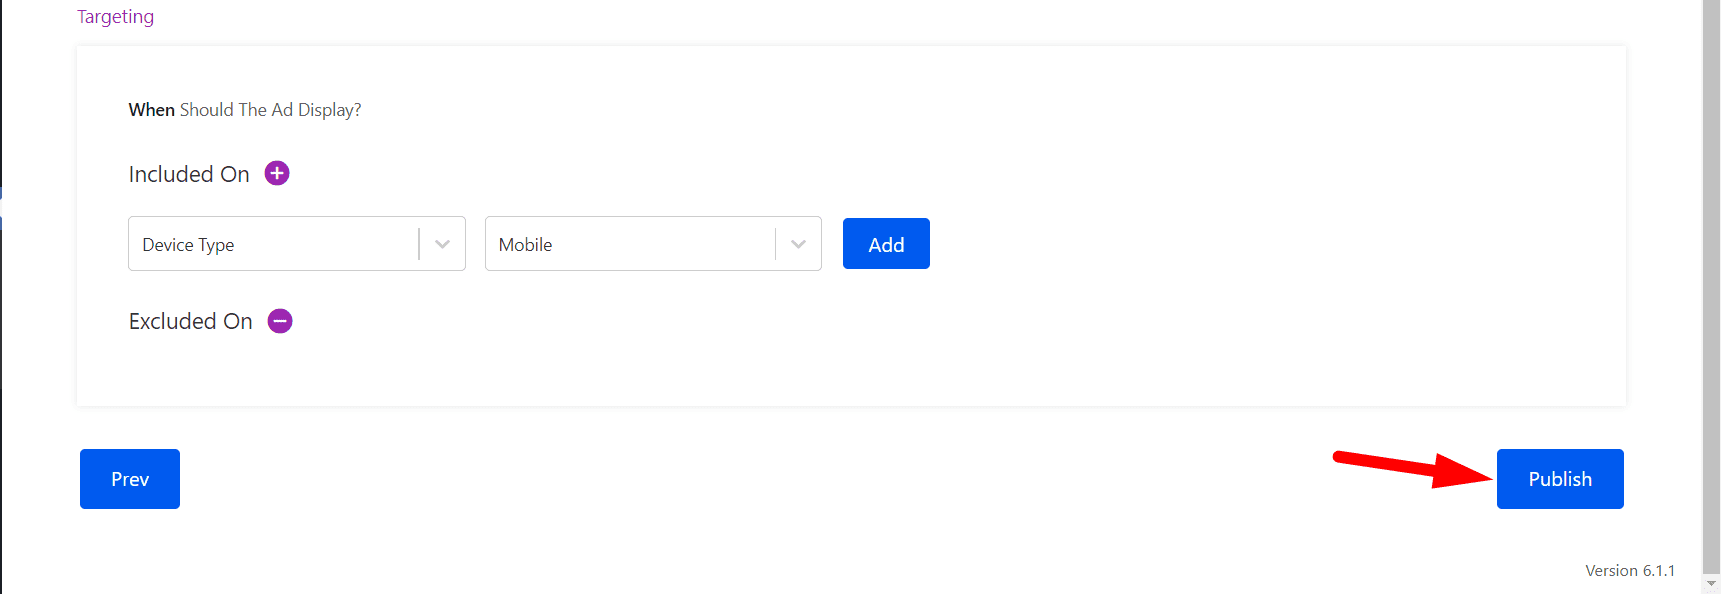
Step 8: Now click on Publish and that’s it, now the Floating will start to appear on your website.
Output:
That’s it for this tutorial!
We hope it helped you. If you have any feedback or questions or do you want us to create compatibility for any other Ad company which isn’t listed in our plugin then you can request us we will surely implement it as soon as possible.
Just contact us here and we are always available for you.